So, you have a door knob that locks. You have keys. However, your keys don't work in the lock. This is how you can rebuild the lock & pins, so that your keys will work.
Things Needed:
Door knob lock
Small flat-tip screwdriver (#5 works good)
Precision screwdriver or Small hex wrench
Needle nosed pliers
Flat metal file
25 minutes of your time(or less)
Step One:
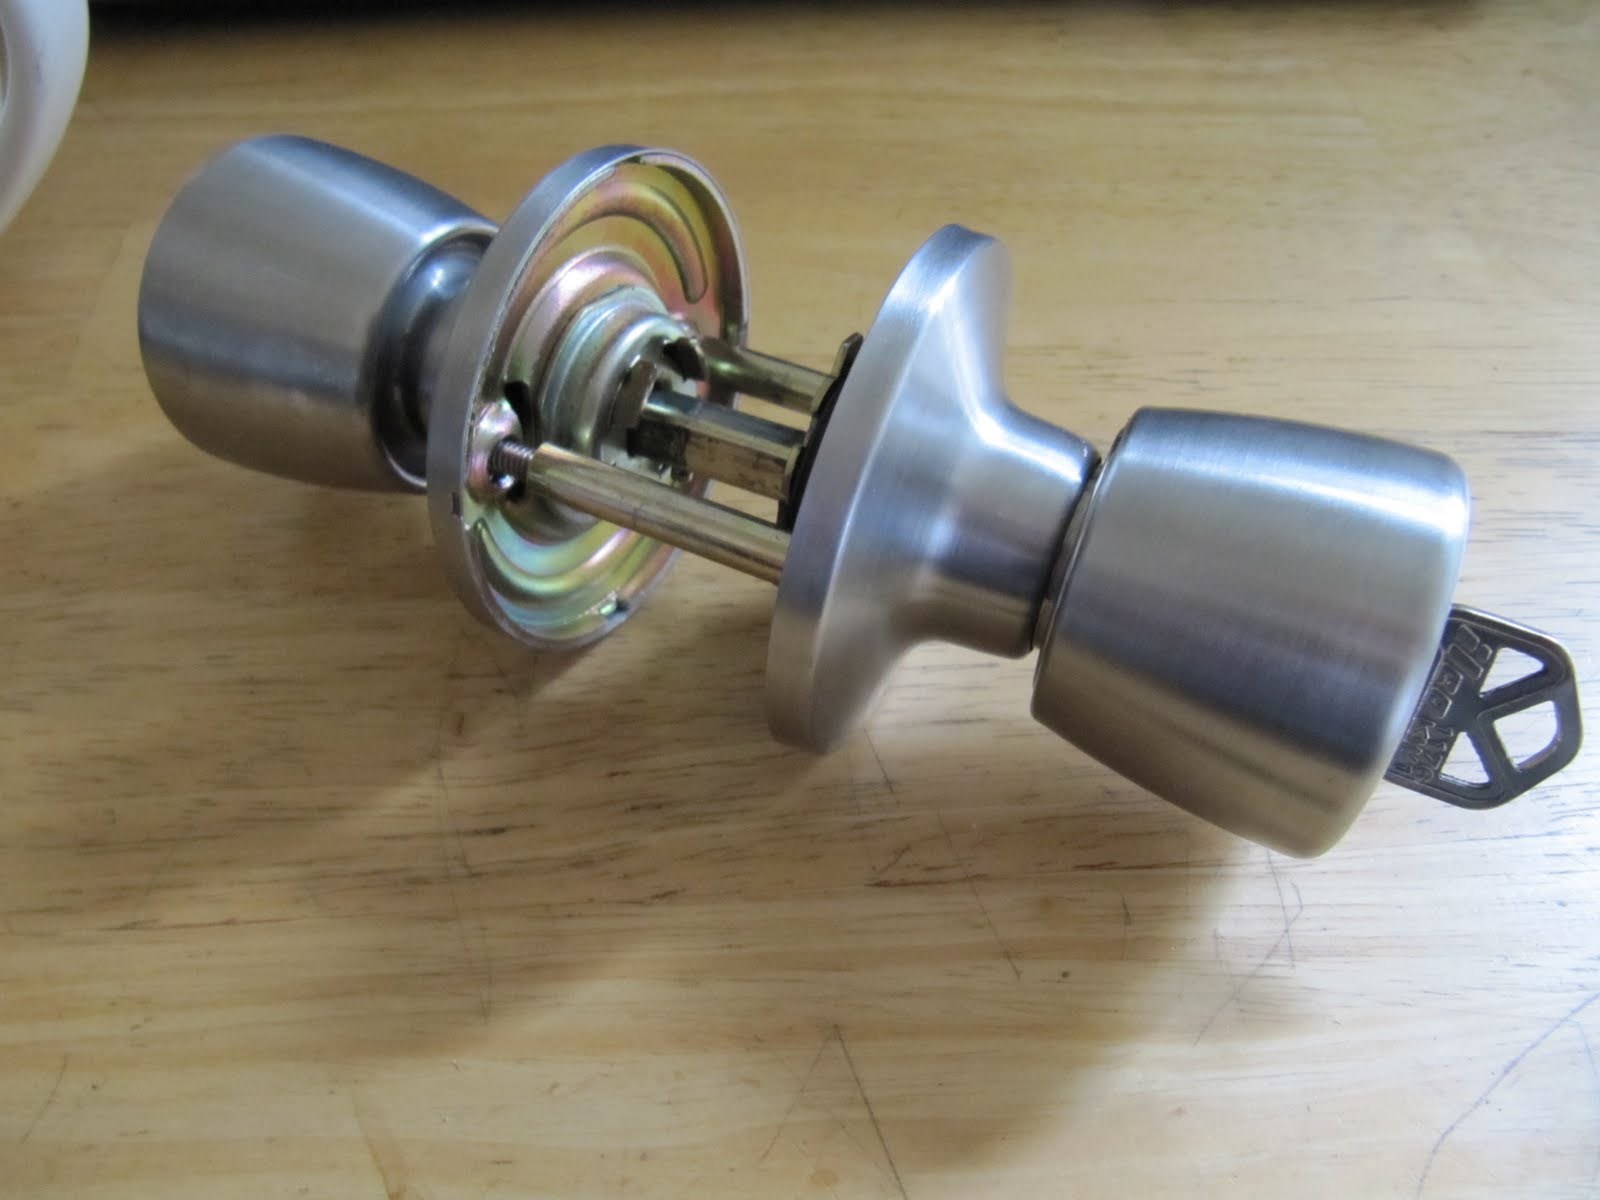
Separate the lock into the two halves. That is the easiest part, since there are two screws that hold the lock together. If you can't make it past this part, then it might be easiest for you to pay for someone to make a key for you.
Step Two:
There are four small pieces of metal around the spring, that hold it onto the lock, allowing it to retract to it's original position. It's easiest to remove this, as you will need to twist the handle in a later step. You will need to bend these four small pieces of metal, so that they fit in the holes that they slid through to set in place.
Picture of the parts to bend:
Picture of some parts bent:
Step Three:
Remove spring. It should be marked, by either grease, or from wear, which bar the spring centers on. Your lock will need to have this back in the right position to operate correctly.
Step Four:
This is one of the more complex steps. There is a hole in the housing for the lock, and there is a piece in the hole that needs to be pressed in, so that you can remove the handle. I used a small hex wrench to press in this piece. In this particular lock, there were four spots that looked like the right one, but the one that is correct always looks a little different. I tried to capture what it looks like, but the camera has limits.
When you press this part, you will need to pull the handle away from the rest of the lock.
Step Five:
Remove the housing holding the lock cylinder. It's pretty self explanatory.
Step Six:
Remove the lock cylinder. Now that you have the lock cylinder out, you can remove the spring cover. It's usually clamped tight, and you need to be careful when removing it, because the springs under it are compressed. If you pop the cover off fast, the springs will fly, and are very hard to find.
Once you have the top clamp removed, your springs will be protruding from the top. Pull them out individually, in the order you will be replacing them. Place a finger on top of the cylinder, and turn it upside down, letting the pins fall out, but keeping track of where they came from. You will also need to remove the retainer ring from the rear of the cylinder.
Step Seven:
Insert key that you would like to fit. Place the lower pins back in the cylinder, they will look similar to this.
The idea is to have them all flushed(flat) with the top surface of the cylinder. Looking at this cylinder, you could remove the first cylinder, and last cylinder, and those two would be completed, with no work done to them. The remaining ones will need to be filed down.
Step Eight:
File down the remaining pins. It's best to file them down one at a time, so that you can file through them faster, not worrying about filing to much on another if the key moves. If the key does move, put a rubber band through it, wrapping it around the other end. File one flushed, remove it, and keep them in order. Then start with the next one. (I have spare pins sitting around for this, so I didn't have to file any.)
Step Nine:
Once all of the pins are filed down, you can start re-assembly.

Slide the cylinder into the tumbler, and put in the top pins. You don't need to put the springs in for this part. If you can twist the cylinder with the key, you have done well. Place the springs above the pins, and put the clamp on the way it was before. Put the retainer clip on the end of the cylinder, and go to the next step.
IF YOUR CYLINDER WON'T TURN: You need to find which pin isn't level, and file more. If this is the case, empty the cylinder out, and start with the first pin. Insert the pin, checking if the cylinder turns, and move to the next. Check if it rotates with the key in it after each pin you insert. When the cylinder won't turn, you know which one is the one needing to be filed more.
Step Ten:
If the cylinder is twisting, all of the pins are in place, the springs are on, the clamp is in place, and the retainer clip is back in, then the lock can be reassembled.
1.

Insert tumbler into handle.
2.

Insert housing onto handle.
3.

Align and slide handle to base.
4.

Unlocked (just checking to see if it works).
5.

Locked (just checking to see if it works).
6.

Replace spring clamp to where it should be.
7.

Push spring clamp down over metal.
8.

Bend metal parts back to their original position.
Done!
That is how it's done. Yes, I know some of you are thinking that it would be easier to buy a new lock, or a kit to replace the pins. That isn't the point of this. It's the actual hands on experience that brings the joy.
J.